Chainsaw carving
How to carve a sculpture with a chainsaw: step by step
A life-size sculpture doesn't need a clay model – just a log, a chainsaw, and a simple sketch on paper. The process below shows how a female figure emerges from a log, from the first cut to the final finish, all within a single day. This is so-called speedcarving – a discipline where the sculpture is completed within a strict time limit, typically as a public demonstration at a symposium or festival.
Step-by-step process
1. Preparing the log
We first strip the bark and level the ends of the log – especially the base, taking into account the sculpture's planned stance and the shift in its center of gravity. We stand the wood in its final position and use chalk to mark the first orientation cuts based on the sketch.
2. First cuts and the main axis
The first cuts run almost the full length of the material, from both front and back. On the resulting flat surfaces we mark the main axis – perpendicular to the horizontal plane, passing through the future figure's throat notch. We redraw the straight outline in chalk and gradually remove the excess material.
3. Angular shapes
At this stage the sculpture deliberately still has no rounded forms. Angular surfaces are far easier to check and measure than rounded ones, so we work on the whole figure at once rather than one section at a time. We keep refreshing the outline in chalk, already shaped more precisely than in the first cuts.
4. More precise cuts and openings
The pieces of material being removed get smaller and smaller, and the cuts need to be more precise – a mistake here is hard to fix. We pause regularly to assess progress from a distance. We swap the large saw for a smaller one, and once the outer contours are satisfactory, we start on any openings, for example between the arm and the body. Small uncut bits can be knocked away with a hammer or a small pry bar, but only if it's a few fibers at most.
5. Details and the carving bar
From this point on we mark not just outlines but also the position of details – the nose, ears, chin, fingers. A special carving (sculpting) bar is far better suited to this fine shaping than a standard guide bar: the tip of the saw lets you reach harder-to-access spots, cut curves, and work out finer facial and limb details with a lower risk of kickback.
6. Checking proportions and the angle grinder
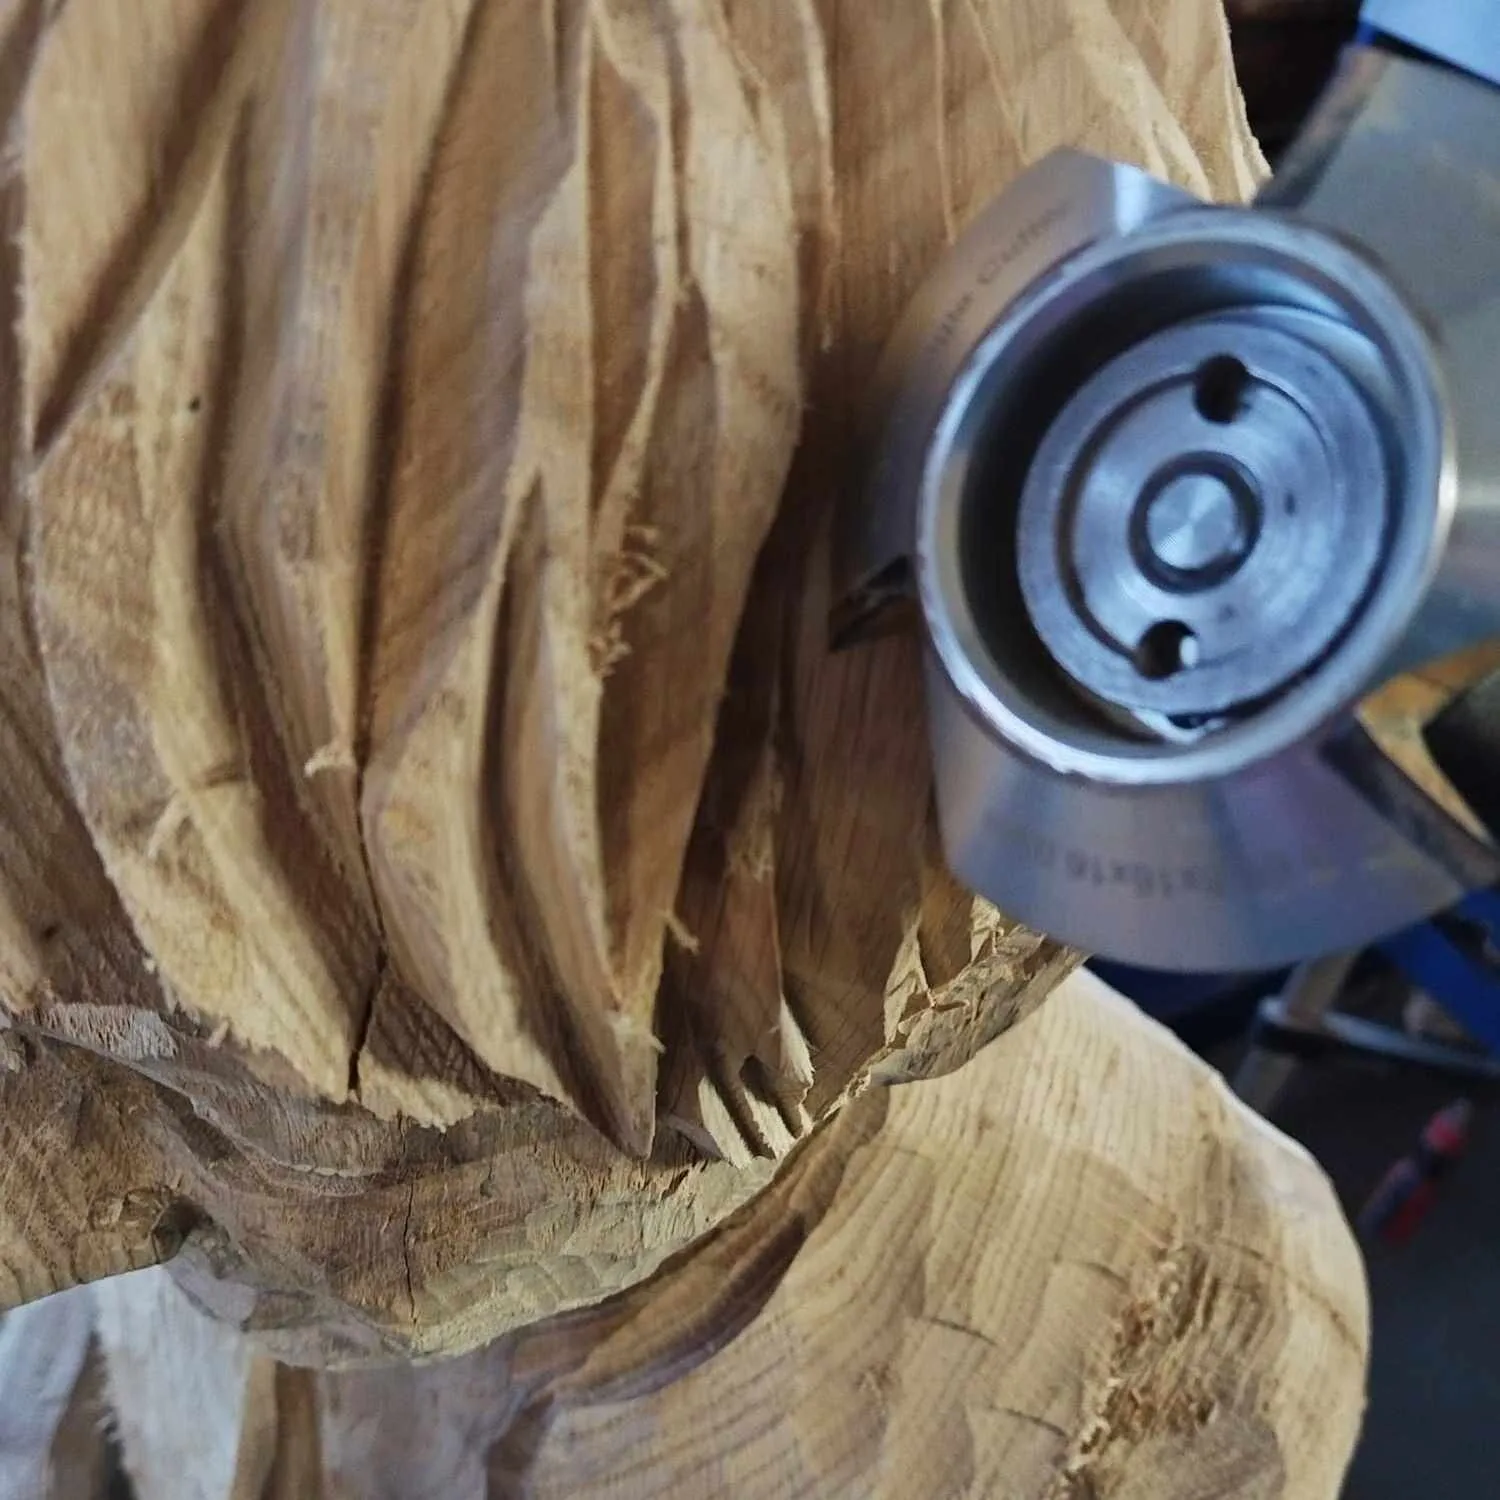
The closer the sculpture gets to finished, the more often we check the figure's proportions, stance, and the placement of details – rough work still allows small corrections, but that margin shrinks fast as the work progresses. Once we're happy with the shape, an angle grinder with a shaping disc comes into play, rounding off the angular surfaces and fine-tuning the anatomy to match real proportions.
7. Lower body, chisels, and marking the piece
We don't forget the lower body, the back of the sculpture, or finishing the base – these spots are easy to skip but just as visible on the finished piece. Up to this point we've worked exclusively with power tools; now chisels get their turn too, playing a key role in the final fine-tuning. Just before completion, we can sign the sculpture in a suitable spot.
8. Sanding and finishing
Finally, the whole surface is sanded with abrasive discs, and the sculpture is ready for finishing. For fine sanding of details like the face, fingers, or hard-to-reach folds, it's worth reaching for die-grinder burrs and rasps – they get exactly where a bigger disc can't. The finish itself can be layered: for example a colored base coat (thinned stain), which is sanded again once dry, followed by a final matte, colorless coating.
Speedcarving and the Slovak carving tradition
Chainsaw carving is a sculpting technique in which a sculpture is created directly from a log using a chainsaw, an angle grinder, and chisels. Speedcarving refers to completing a piece within a strict time limit – typically within a single day or a few hours, often as a public demonstration. In Slovakia, the technique also has a tradition thanks to sculptor Andrej Irša, who is also the author of professional publications on chainsaw carving – one of which now serves as accredited teaching material. The same process described in this guide is used to create garden sculptures, life-size figures, and reliefs for public spaces.
Andrej Irša – a-studio brand →Planning your own sculpture?
Planning your own sculpture? Our range includes carving bars for detailed chainsaw work, abrasive discs for the final sanding, and die-grinder bits for fine details. If you're not sure what to choose, reach us through the contact form or find us at eshop.marosko.sk.